1. Download the printer driver from the LO Server:
Xerox WorkCentre 5945i driver can be found in:
\\db9.gfl.me\IT\Drivers\Xerox\5945\Win\
Copy the file WC59XX_5.433.16.0_PCL6_x64.exe to your desktop.
2. Install the printer driver on your system:
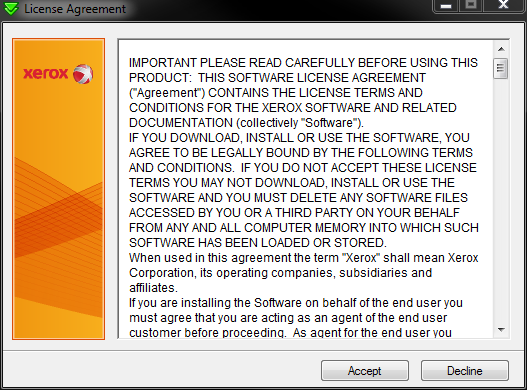
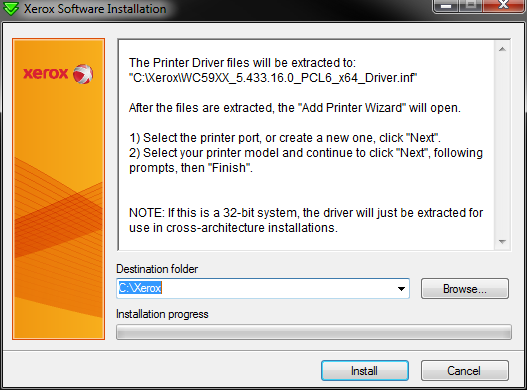
Double-click on the WC59XX_5.433.16.0_PCL6_x64.exe file on your desktop to begin.
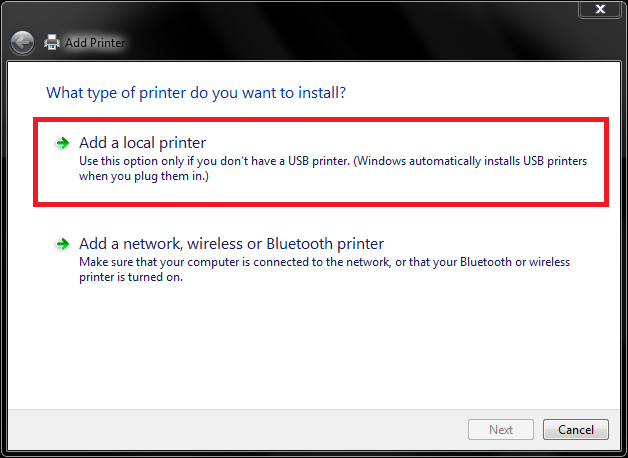
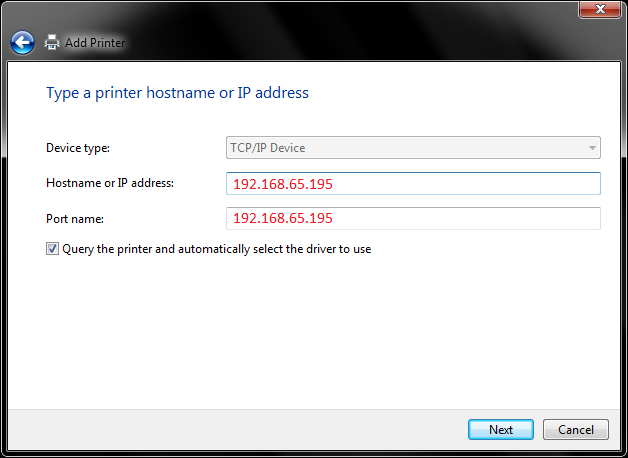
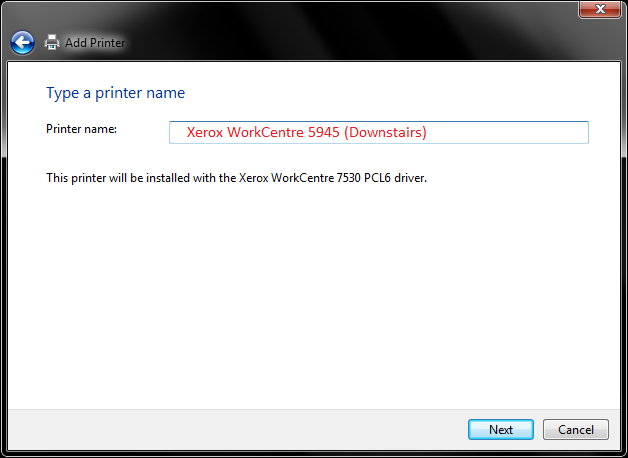
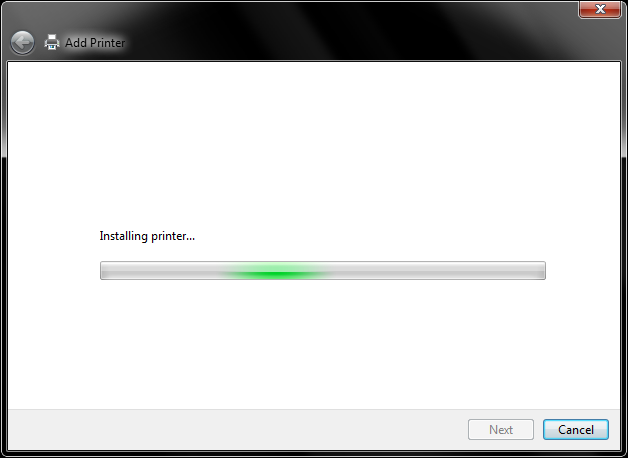
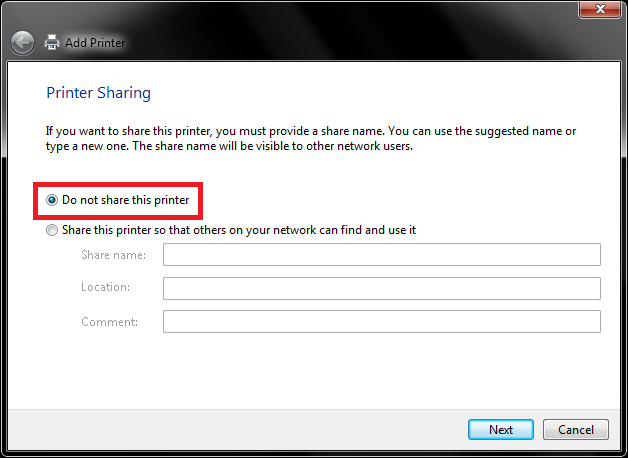
3. Add the printer to your system:
If the Add Printer window seen below doesn’t pop up after the driver installs, do the following:
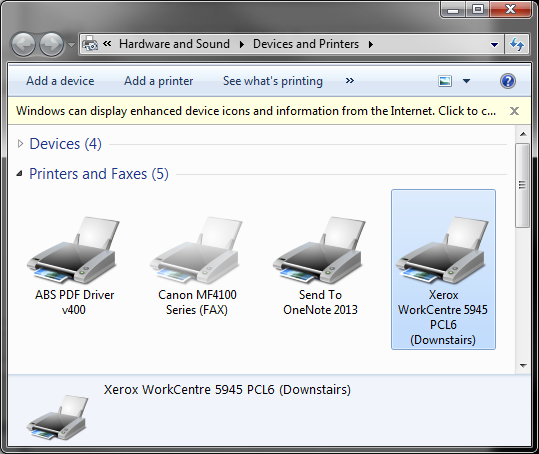
- Open Start menu
- Click Devices and Printers
- Click Add a printer near the upper-left portion of the window


4. Configure printer for LO settings
If not already open, go to Devices and Printers.
- Open Start menu
- Click Devices and Printers
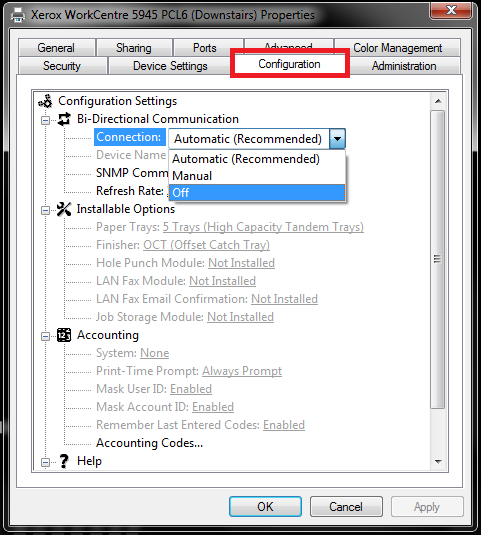
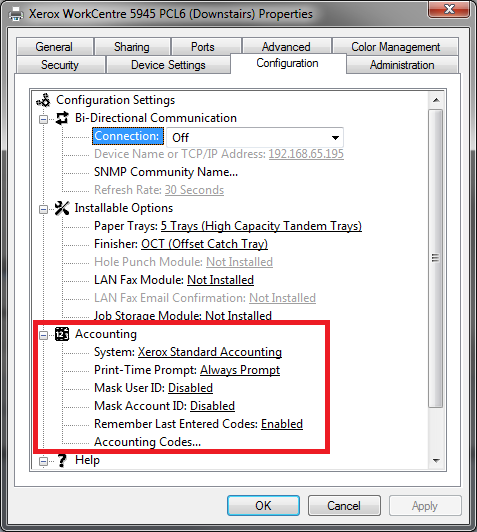
Re-open the Printer Properties and re-select the Configuration tab.
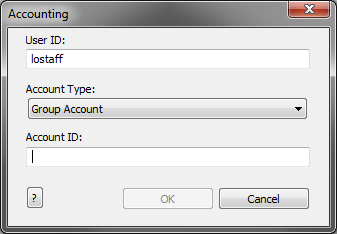
The Accounting options should now be available to edit.
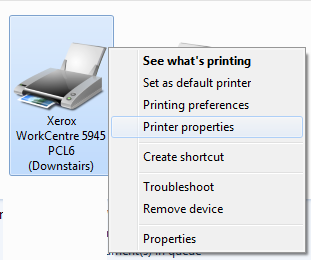
Right-click on the printer and open Printer Preferences (not Printer Properties) and select the Advanced tab.

5. Testing Printer Setup
Right-click on the printer and select Printer Properties.
This should trigger the Accounting prompt to appear.